Skip to content
Regenerative Soil Development Through Microscopy and Permaculture Design
Menu
Home Page
Soil and Microscopy
Video Links
About
Latest Posts
Compost Towers
Inaturalist Observat …
X
Tag:
straw
Nothing Found
Don't worry… it happens to the best of us.
Back to Home Page
Back to Home Page
Microscope images
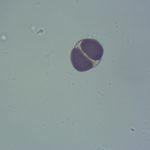
Phosphorous in cannabis leaves
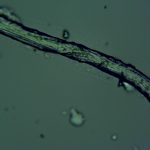
canabis root under epi florescence lighting
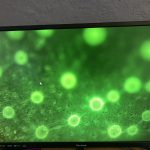
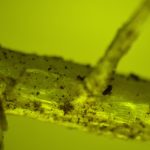
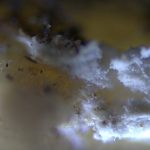
maybe white rot on cannabis root
maybe white rot on cannabis root
maybe white rot on cannabis root
Sign in
Log in
Entries feed
Comments feed
WordPress.org